InstagramFollow Me on Pinterestgoodreads

Friday 2 January 2015

Blur Book Review


Happy New Year everyone! We hope that you had an amazing 2014 and that 2015 is the best year for you yet! Can you believe it is already January? Like us, you may still have the Christmas blues and your Christmas tree might even still be up. Ours is standing in the corner, slowly losing brown pine needles by the minute. We know, it's pretty sad. BUT, do not worry my friends because winter is upon us. Winter is the time for cuddling up with your hot chocolate, Netflix, and especially a good book. 
We recently came across the book Blur by Steven James. We don't know about you, but we are definitely the type of people who judge a book by its cover. (and maybe the author picture on the back, not gonna lie)  So when we saw this intriguing cover, we couldn't help but pick up a copy from our local library without even reading the back, but as we flipped through the pages, we can say we were not disappointed one bit. 

Daniel Byers is shocked when he finds out a girl who attended his high school has drowned unexpectedly. Everyone, including Daniel, believes Emily Jackson's death was accidental, but when evidence comes to the surface that contradicts the belief that this 16 year old died accidentally, he is not so sure anymore. On the day of Emily's funeral, a terrifying hallucination astonishes Daniel and causes him to question everything about Emily, and himself. As clues are revealed, Daniel finds himself battling a world that causes him to evaluate what is real in his life, and what is a blur.

Blur by Steven James is packed full of suspense, plot twists, and shocking realizations. When we first read that Daniel was seeing visions of  a dead girl, we rolled our eyes with slight annoyance, thinking, "Oh no, not another ghost story." However, as we read further into the novel, we became immersed in this mysterious tale, wondering if Emily Jackson's death was actually a mistake after all and who was committing this horrible crime. 

Violence- A fair amount of violence. Daniel gets into a few fights and severe threats are made, including murder.
Sexual Content- None.
Language- None. 
Spiritual Content- A few bible stories are mentioned a couple times, but God is only alluded to, which was a bit disappointing for us since this book is written by a Christian author. Hopefully, the next books in the series will have a stronger spiritual proclamation. 

Pins & Paperbacks gives this book a 4/5 stars,

With love,
Mickey & Jen 
Pins & Paperbacks Blog 
Read More


Sunday 14 December 2014

DIY Snow Globe Ornaments


 Christmas is the time for A Charlie Brown Christmas, peppermint bark, family dinners and Christmas Eve Church services. It is also the time to remember the birth of our Savior and to give back for all He has done. If you haven't realized it yet, Christmas is upon us, and with Christmas comes the stress of trying to find the perfect gift for that special someone, whether it be your mom, or ton Amie. What better gift than these cute snow globe ornaments? These literally take five minutes and are the perfect craft to do with friends. Even better you don't need anything fancy for the snow, just sugar. Craftberry Bush is where we got the inspiration from. 

What you will need:
  • Clear ornaments (We found ours at Target)
  • Mini Trees (Dollar Store or any Hobby store)
  • Sugar
  • Hot glue gun
  • Ribbon
  • Funnel
  • Tweezers
What to do:

Heat up that hot glue gun and squeeze a lil drop on the bottom of your mini tree. Using your tweezers, place your tree on the bottom of the clear ornament. Allow it to sit for a couple seconds, then pour a bit of sugar through a funnel until you think your globe looks like a winter wonderland. Close up your ornament and attach a ribbon so you can hang it on your Christmas tree. Ta da! These snow globe ornaments are so easy to make and absolutely adorable! Happy holiday crafting and Merry Christmas! 

With love,
Mickey & Jen 
Pins & Paperbacks Blog


Read More


Sunday 2 November 2014

DIY Corner Heart Bookmark


Don't you just love the feeling of snuggling up under your covers reading a good book while hearing the soft pitter patter of the rain outside your window and the huge gusts of wind that twirl leaves of all colors across the hazy sky? Ok, maybe that is a little bit of a stereotype for the perfect fall weather, but nonetheless, reading is an excellent autumn past time. So we have come together to create a tutorial these cute origami corner heart bookmarks inspired by Rena T's Tutorial that are super simple and add the cutest touch to your books. So grab your scrap paper, newspaper clippings, or magazine pages and get ready to make a bunch of these in just 17 easy steps!

Start by picking out the scrapbooking paper you would like to use,
 you can also use newspaper or magazine pages.


Cut out a small square of the paper, about 4" by 4"

Now fold the paper in half diagonally, non-pattern sides together.

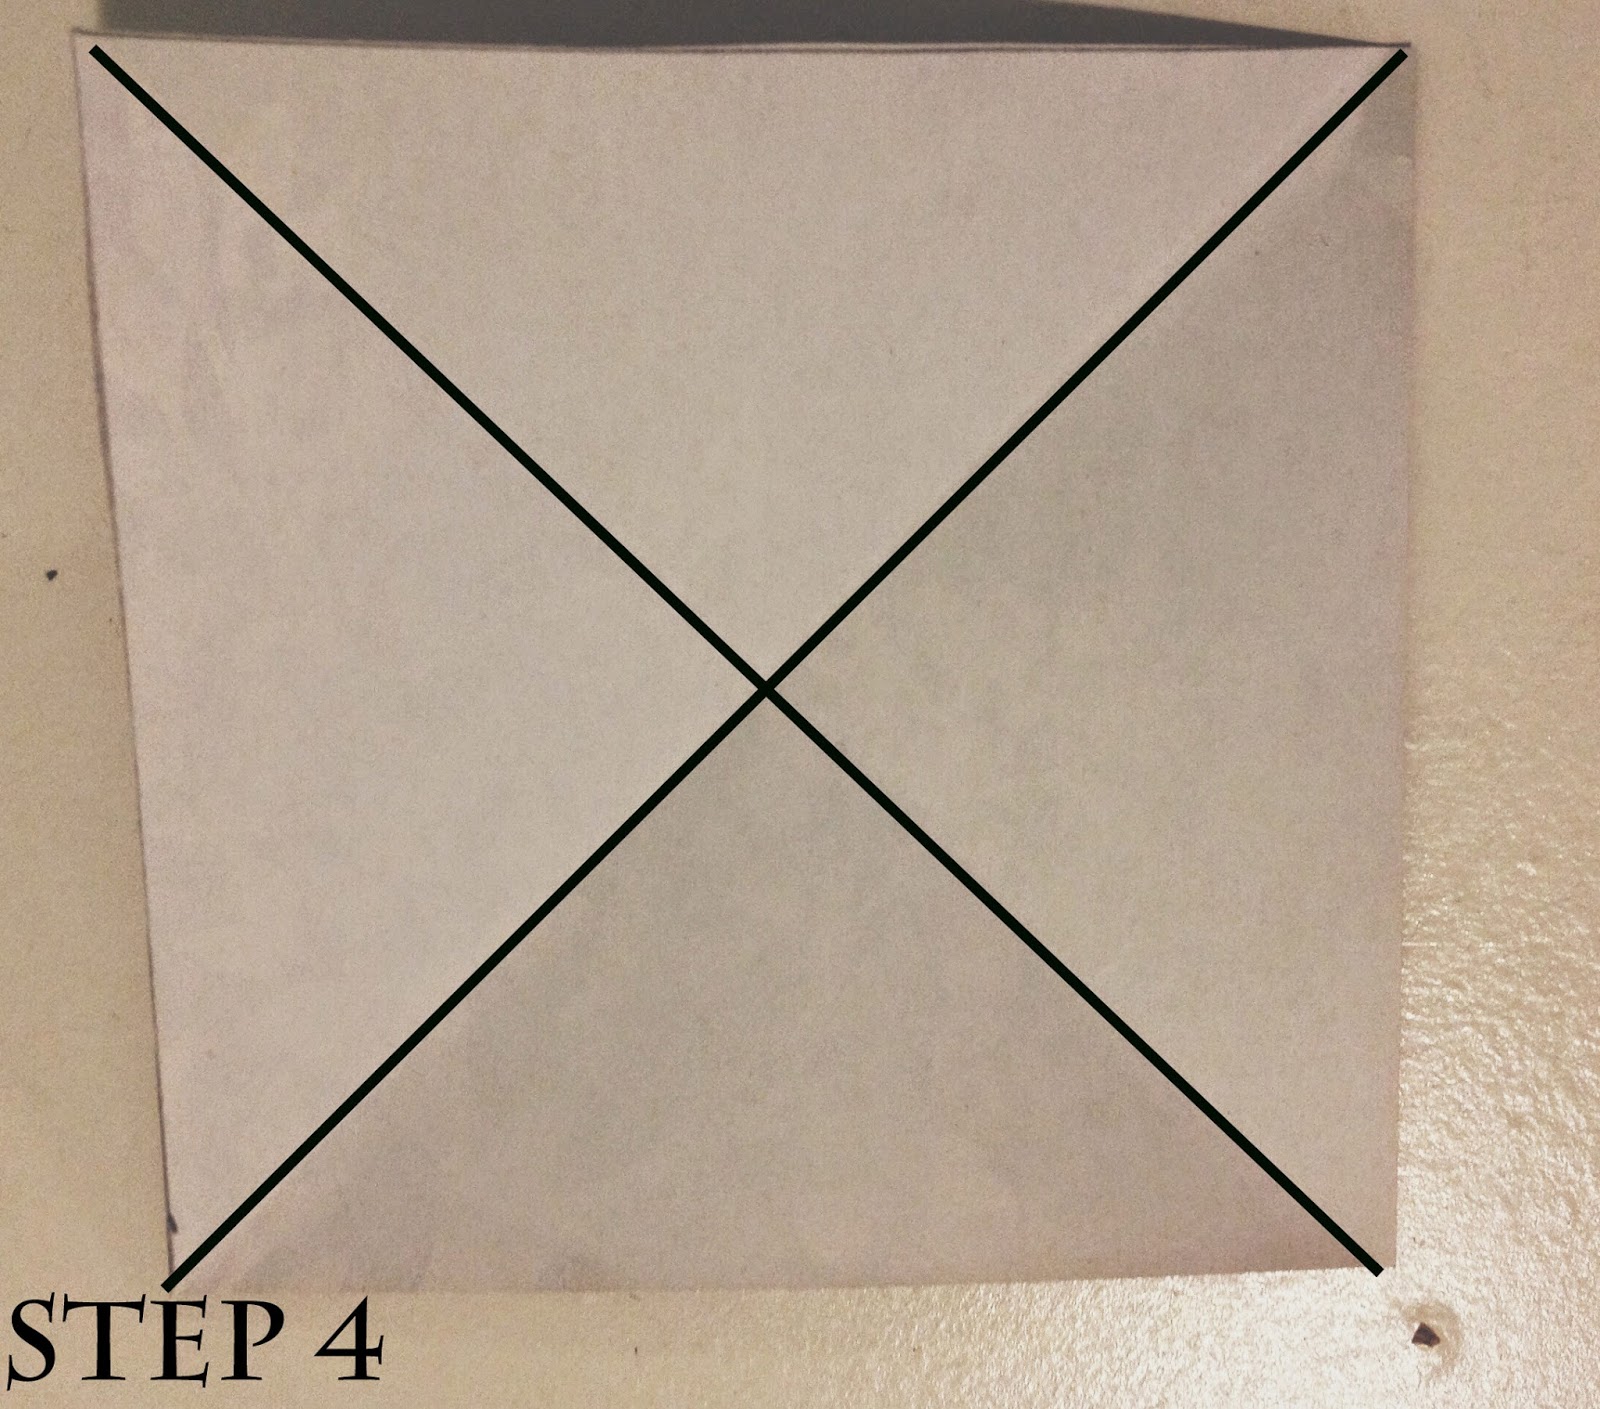
Fold it in half the other way diagonally then open it up. You should have fold marks similar to the black X in the picture above. 

Fip your lil paper over and fold in half horizontally. Remember, these folds
are just for guidelines. 


This step may be a little confusing, however it is actually really 
easy! All you gotta do is fold along your folded 
lines on each side, then fold the top down. Don't really
think about it, just go with the flow. Once you fold it,
it should be a triangle or tent as the original tutorial described. 


Now you are going to make your large triangle into a small
triangle by folding up the first corner layer of paper on both sides up
to the top. Sorry, it is hard to see in the picture above. 

Now unfold the corners; it should look
something like this. 


Fold over the top triangle, then unfold it again.


Open up the first layer of paper.


Fold up each side. It should look something like this.


Fold down the rectangle at the top.


Fold the rectangle in half upwards.


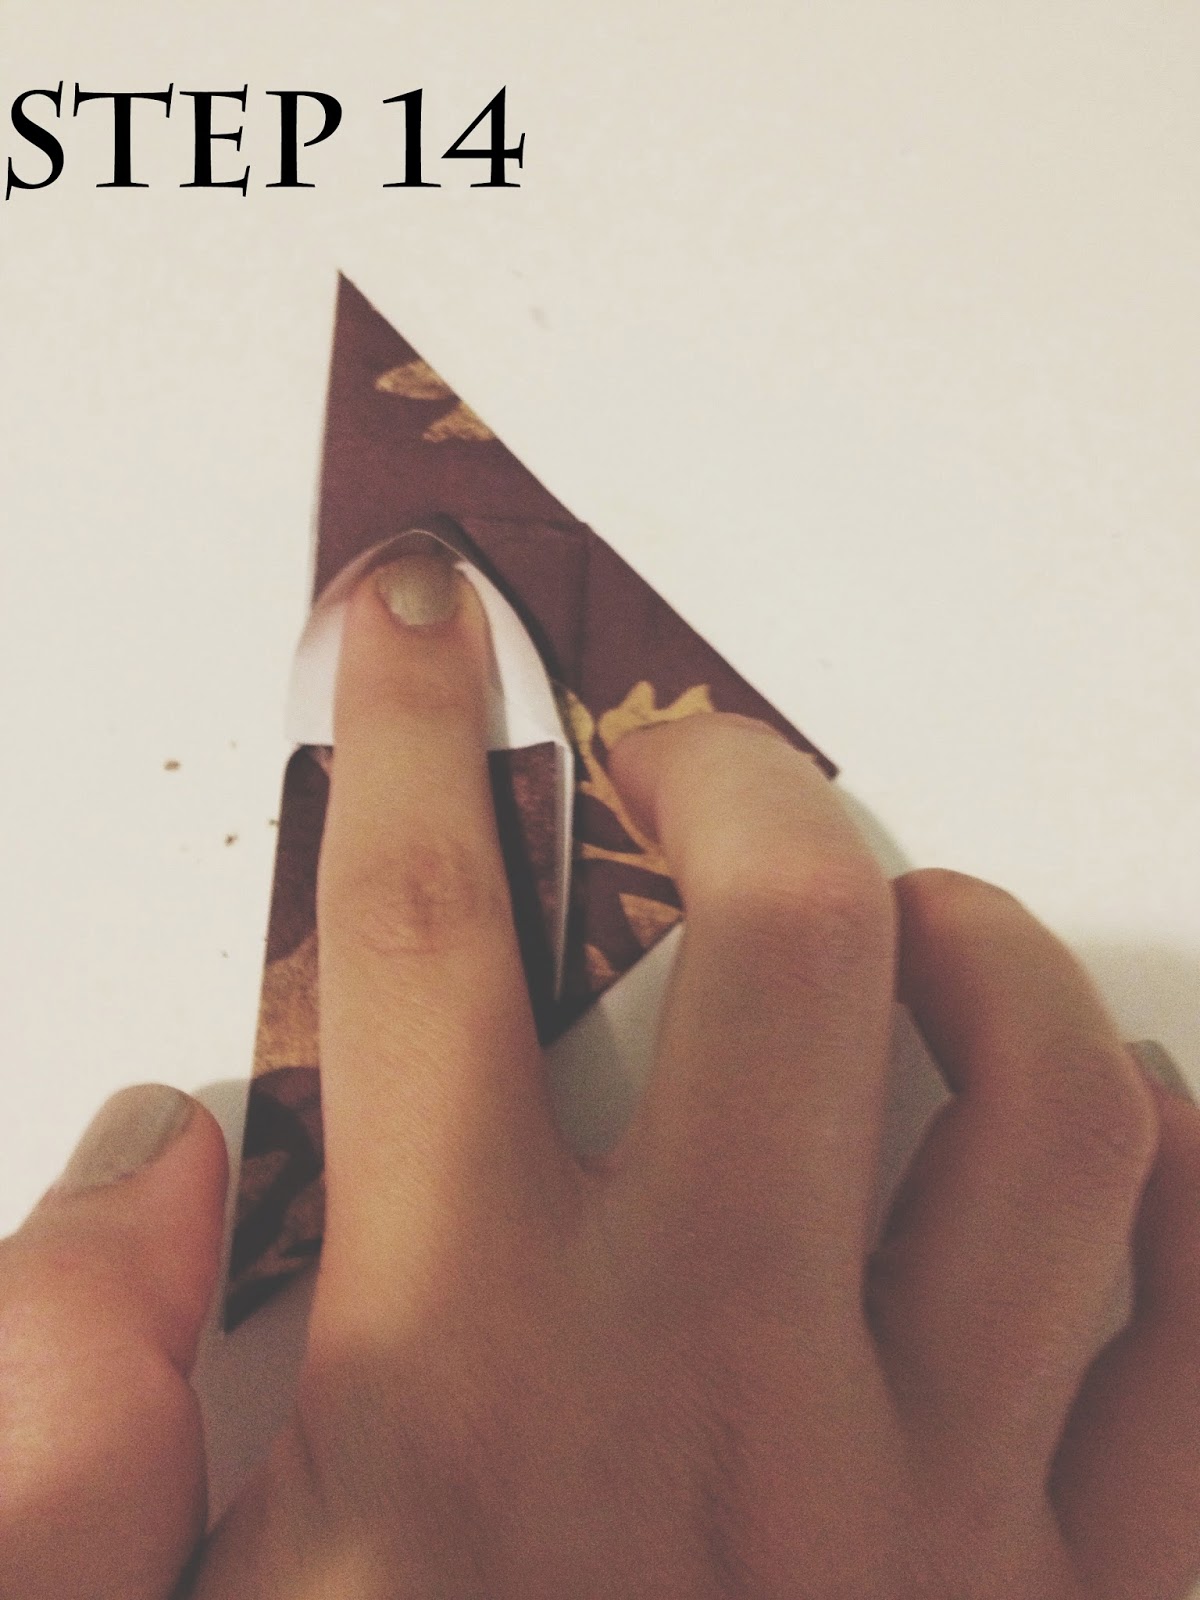
Tuck your finger in the corner of your tiny rectangle,
folding it into a little triangle. Do this on the other side
as well. 


Your bookmark should now look like this. Now see that lil black box?
Fold that up. Fold the one beside it too.


After folding up the corners, it should look
like this. Almost done! 


Fold up a little triangle on both sides. This is so the heart
won't be pointy. Last step!!


Now lift that flap up. And there you have it! Your heart 
bookmark!


You can try this out with different paper. It is actually quite easy once you get 
the hang of it. 


We hope you enjoyed this tutorial and are having a fantastic November so far. Can you believe it-Christmas is just around the corner! Keep watch for some more book reviews and maybe even some Christmas gift ideas for family and friends. But don't worry- we won't get too ahead of ourselves, after all it is still fall! Make sure you enjoy each day you are given. Comment below what your favorite part of fall is and/or give feedback on the blog. We absolutely love to hear what you guys think so we can make improvements. Have an amazing rest of your Sunday lovelies!

With love,
Mickey & Jen 
Pins & Paperbacks Blog


Read More


Friday 19 September 2014

Autumn Anticipation


Aaah.. it's almost that time of year again- where the leaves turn a crisp scarlet red and a fresh, brisk wind frolics through the air. Autumn. We love the feeling of our toes snuggled up into some cozy boots and our necks wrapped in knit infinity scarves. We also love the feeling of our fingers curled around a good book, some upbeat music jamming through our ear buds, and the suspense when watching a highly anticipated movie at the theater . This post is solely dedicated to getting you excited for fall and everything it has to offer!

New Reads This Fall:


Coming to your local bookstore on November 4th- The Princess Spy by Melanie Dickerson! Oh man, this series certainly does have a way of gripping your attention just by the book covers alone, but the synopsis sounds quite intriguing as well. This book seems to be based on the classic story of The Princess and the Frog and is full of romance, suspense, and mystery. We can't wait to get our hands on a copy of this gem. If you enjoy fairy tales with a hint of mystery, be sure to check out the rest of the books in Dickerson's fairy tale series. You can also read the full deets about this book on Good Reads.  


Next up is this mystery/suspense novel by Irene Hannon. It is the third book in her Private Justice series, and let me tell you, we are very excited about this one. The first two books were absolutely amazing, though the second one would definitely have to be our favorite. The fascinating thing about this novel is it is about a mother who is still grieving the loss of her son and husband who died in a boating accident four years ago, who thinks she sees her long lost son one day at the mall. That means someone is trying to keep him hidden. This story plot sounds so exciting, full of tension and mystery. October 7th is the date this long awaited novel is suppose to release! Check out a full summary on Good Reads.
 
New Musique this Fall:
 

♫I'm standing still without you in the emptiest of fields, I wish that I could say what's on my mind...♫ Maybe you have heard the catchy beat of Alex & Sierra's scarecrow, or maybe you have seen this duo rocking it on the last season of The X Factor. Either way, we are pumped for this album to release in just a couple of weeks on October 7th! These two's voices blend and mesh so well together, and our favorite songs are the slower ones with the acoustics and piano; we aren't as fond of the upbeat ones with funky electronic beats. Check out their first couple of singles including Bumper Cars, Here we go, Little Do you Know, and Just Kids. Just a warning, there may be some sketchy songs, including one that is called, "cheating" and may talk about a few weird things. Other than that, we can't wait till this couple introduces the rest of the songs so we can jam out and squeal with excitement when their voices blend together just right.
 

So I guess you could say we have a thing for singing competition artists. Besides the interesting cover, Angie Miller's new EP, releasing November 12th, has us curious and eager to listen to her original, self-written tunes. Angie's been keeping this EP pretty under wraps, so we don't know exactly what these songs are going to sound like, but if they are anything like what she sang on American idol, we will be content!
 
 
New Movies this Fall....
 
 
November 21.... Do we have to say any more? Hunger Games Fanatics across the globe are waiting for this day for Mockingjay Part 1 to release in theaters. If you haven't seen the trailers, be sure to check out the lil snippets to get excited for this long awaited film!
 
Lastly, what's a blog post without a few DIY fall recipes? Confession: We haven't exactly tried these recipes yet, but they do look/sound absolutely scrumptious!


Well that's all for now folks! I hope this post got you anticipated for autumn and excited for all the new literature, music, and movies!
 
With love,
Mickey & Jen 
Pins & Paperbacks Blog


Read More


Sunday 31 August 2014

3 Simple Back to School Projects


Well.. it's that time of year again- back to school time! Woopdeedo! Ya, don't worry, we aren't all that excited either, but we do have a few diy back to school supply projects that just might make heading back to class a little bit easier for you! 


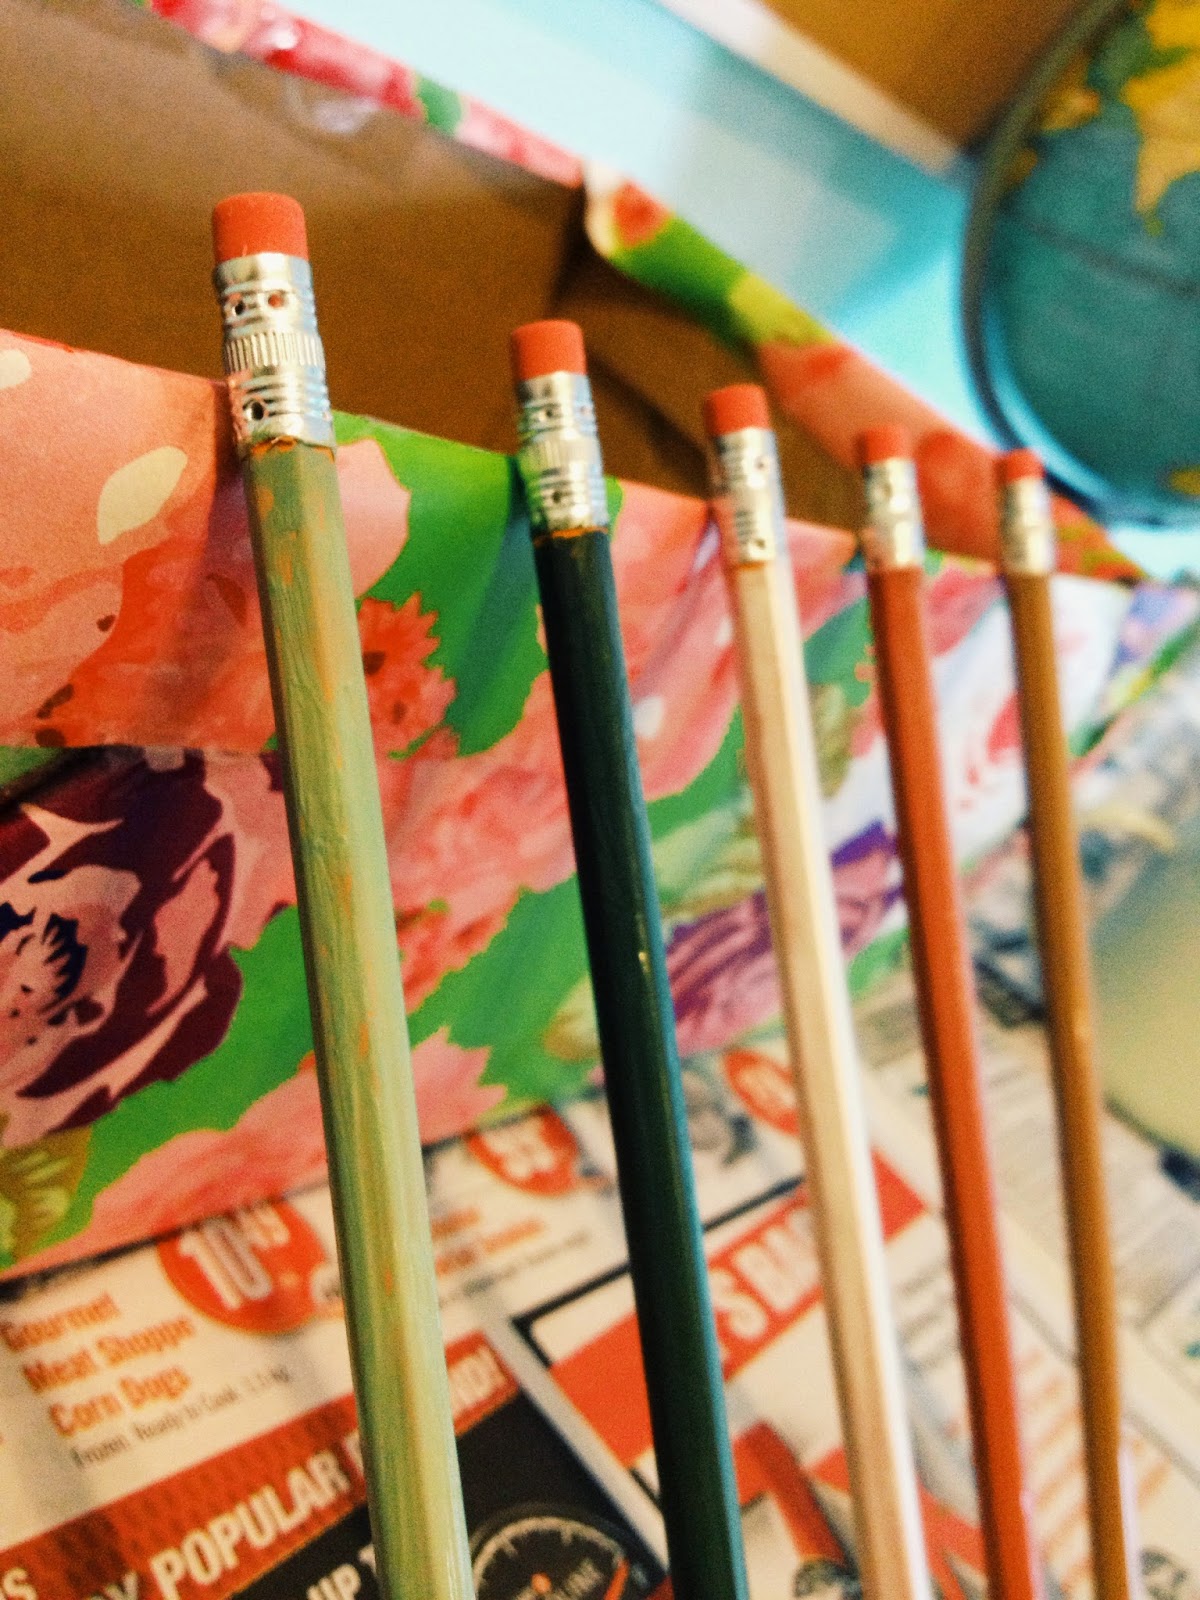
First up, are these DIY painted pencils. This is the perfect project to spice up those dull pukey colored pencils and maybe help you enjoy math class a little more. This diy is super easy, and we got this inspiration from Hello Natural


What you'll need:

  • pencils
  • paintbrush
  • wood paint
  • newspaper (you don't wanna get that white desk dirty)
  • lid to pour paint on


First, start by choosing the paint you would like to use. I chose some fall colors because we all know we keep our pencils for only a couple of weeks and then they magically disappear on us. You can also add white to colors to have different shades of each one. Now paint away!


After painting each pencil, prop those munchkins up on some sort of box, so the paint doesn't go all over the place. You can also paint another coat if you would like, but you don't have to. I found that mine needed a second coat, and then they were ready to go! 


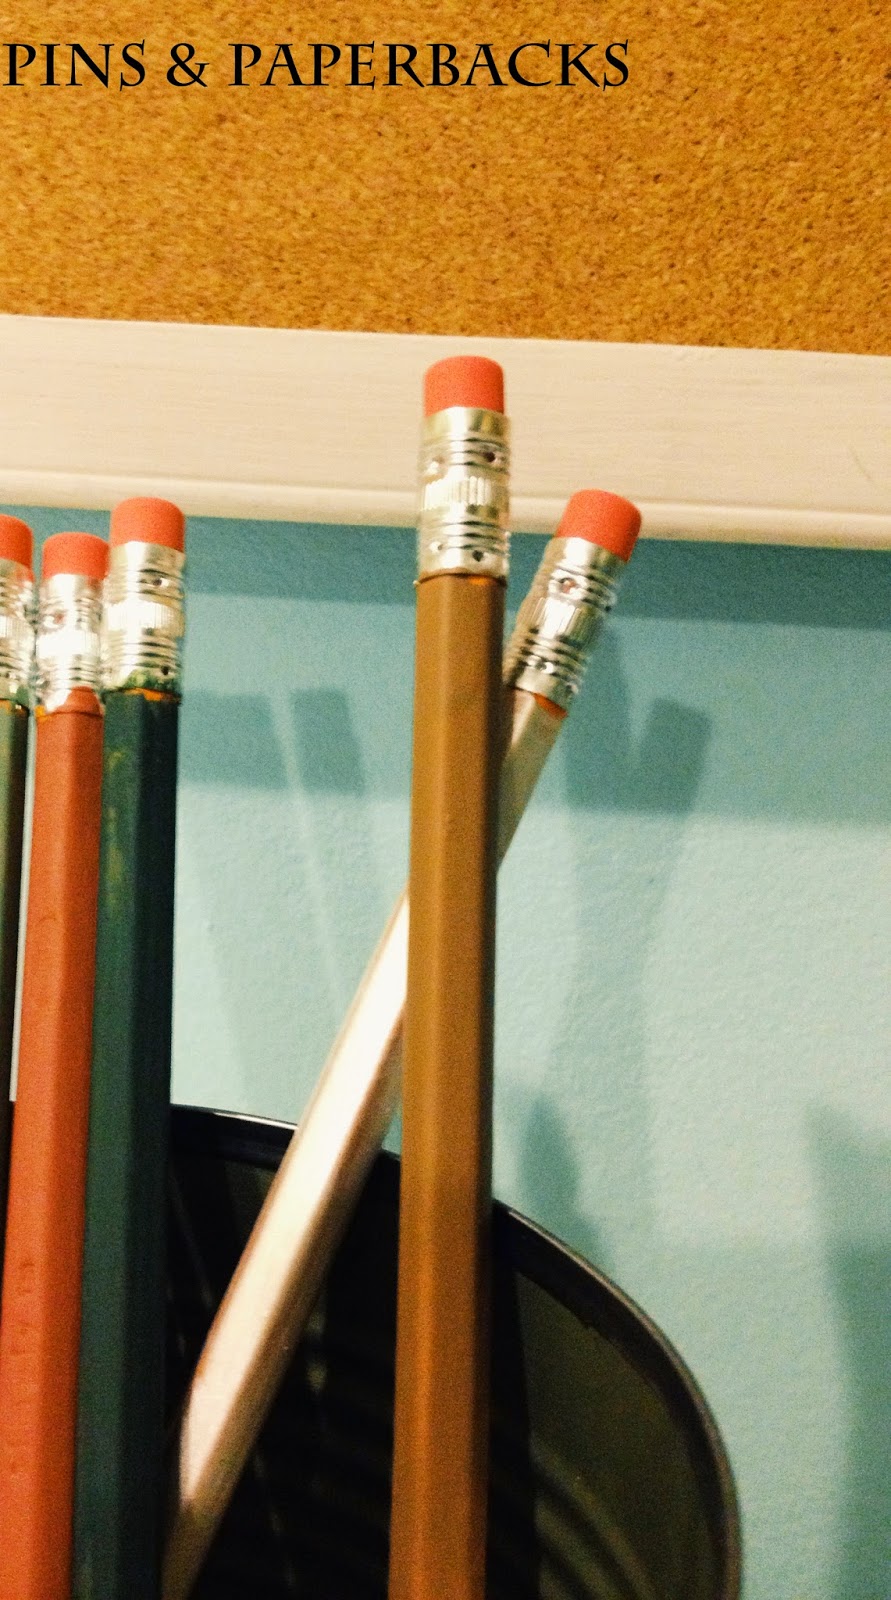
There you go! Now you have some cute, diy colored pencils! This literally takes five minutes and they end up turning out mighty fine. 


Project number two! Have you ever just gotten really bored in class and you  have the sudden urge to doodle? Well, with this notebook, you can do just that! (not when the teacher is talking though, right?) I found this DIY chalkboard notebook idea on Warm Hot Chocolate.


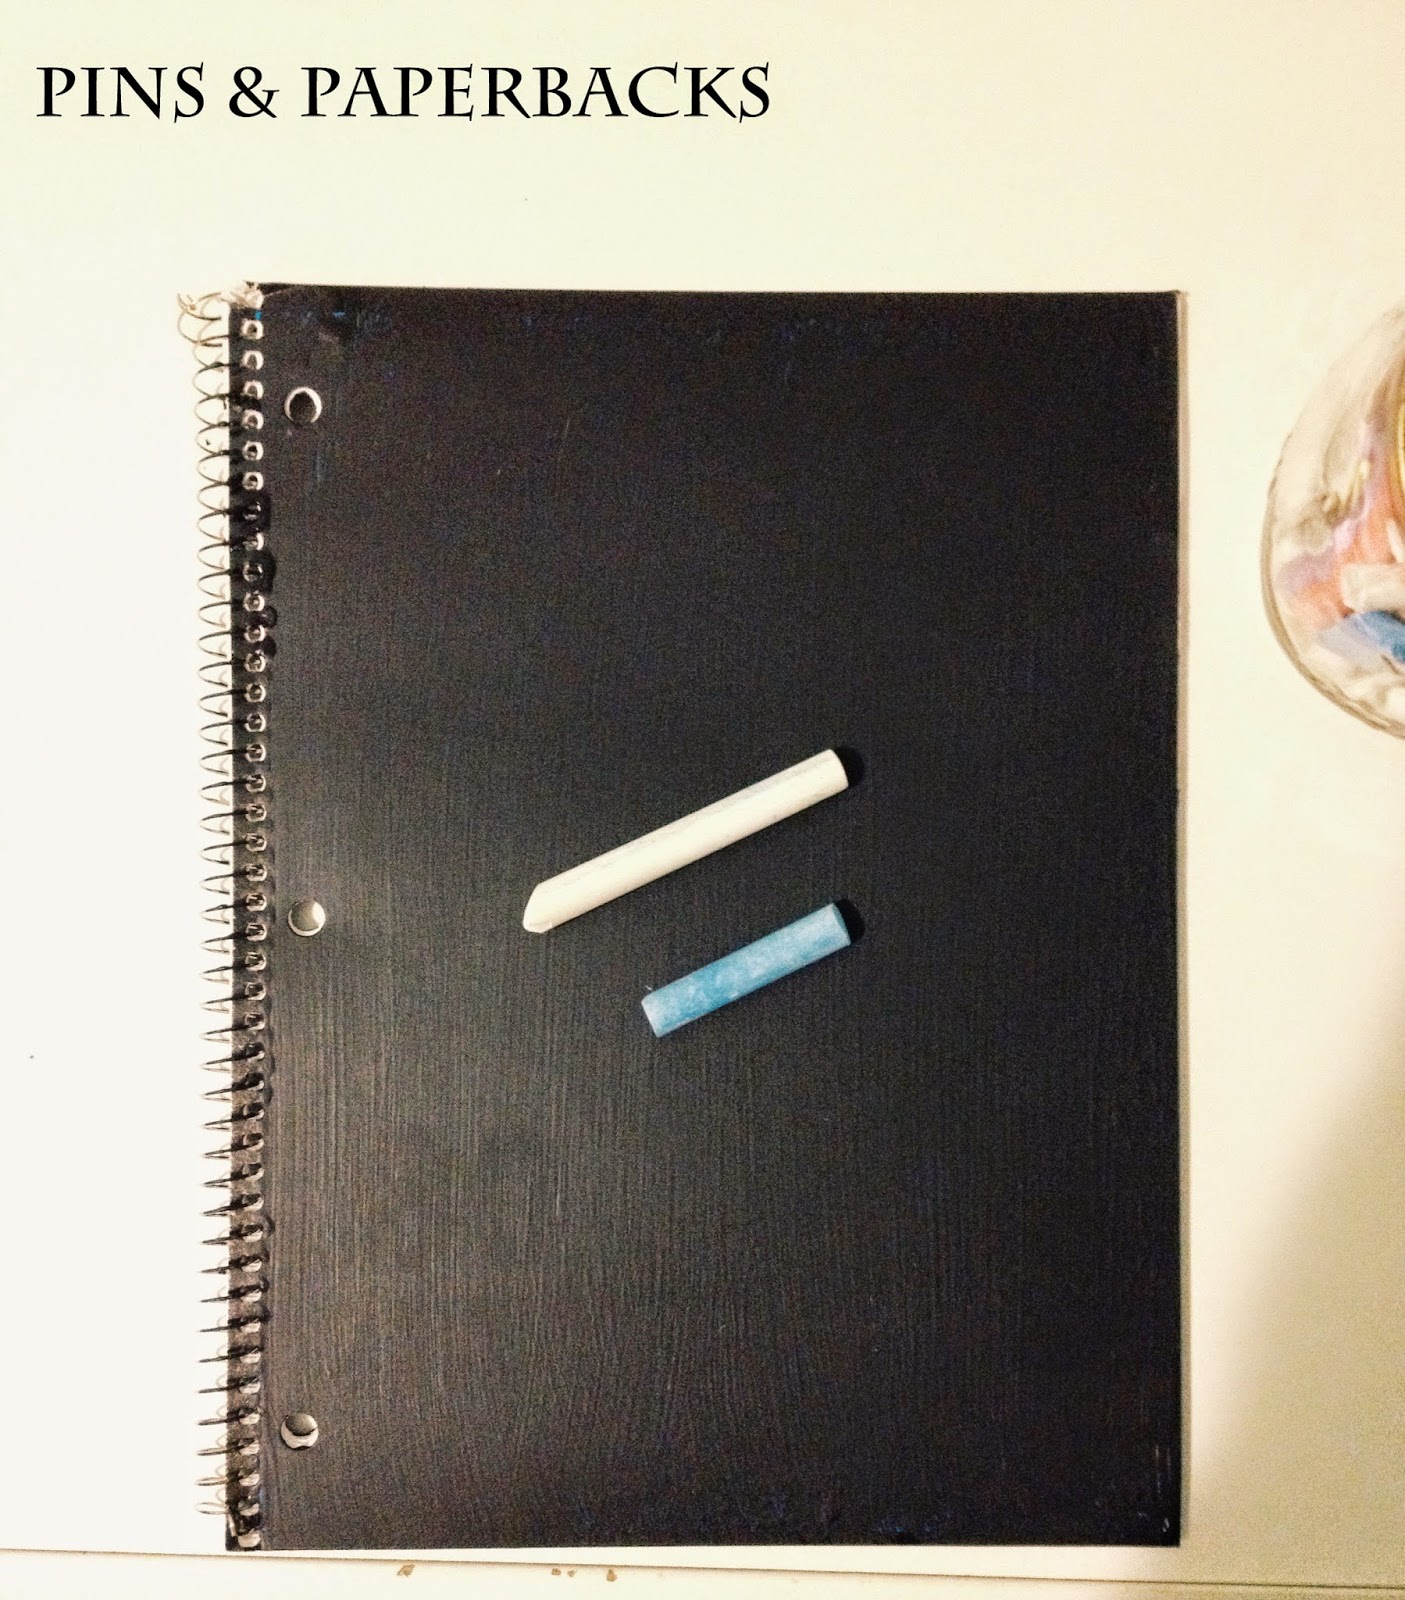
This diy is pretty straight forward. All you need is some good ole chalkboard paint, a classic notebook, and a paintbrush. Oh and don't forget some cardboard or newspaper so you don't get paint all over the floor. The lighting is a little weird because I had to paint in the basement because ma mere didn't want the fumes hanging out in the house, and a chalkboard on her kitchen floor.  


As you can tell, the chalkboard paint didn't show up as well on the glossy cover, so if you want to do a second coat, just wait a bit before you do it. Make sure you read the can before though, mine said to wait about four hours. 


C'est fini! This was also super easy, but the only annoying part of this project if you have to wait 3 days before you can draw on it! Patience, Mickey, patience. However, make sure you read your can, for yours may have different instructions. Isn't this delightful? Now you can doodle, write your subjects, write your name, or write notes to your friends! (again, not when the teacher is talking, right?) ;)


Last diy project is this chic scrapbook paper calendar. This will help you stay organized throughout the first couple weeks of school, and it is really fun and stylish too! Inspired by Say Yes.


What you'll need:

  • scrapbooking paper (or just scraps or construction paper)
  • scissors
  • pencil
  • sharpie
  • ruler (only if you are a perfectionist like me)
  • bulletin board
  • pushpins


First, measure and cut out your scrapbook paper into little tiny boxes. Mine were about 2" long and wide.


Once you've cut out about 30 boxes, number each one with a Sharpie or fine tip marker. Don't forget to write down the month and days of the week on paper too. I used  plain cardstock to contrast all my patterned paper. 


Lastly, pin your squares in a nice orderly fashion on your bulletin board, and ta da! Yay for organization!

Now you can write all those lovely back to school shenanigans on your calendar and admire the cute paper you used!


Well that's all for now folks. We hope you enjoyed these back to school supplies ideas. Make sure to comment; we love to hear your feedback! If you make any of these creations, you can tag them #pipablog on insta so we can check them out! And if you aren't too excited to go back to school, don't worry, we feel ya. You just gotta remember to have a positive attitude and work hard! Trust in God cause He's got your back, and have a happy school year :)

Talk to y'all soon,

With love,
Mickey & Jen 
Pins & Paperbacks Blog


Read More


Return to top of page
Powered By Blogger | Design by Genesis Awesome | Blogger Template by Lord HTML