Well.. it's that time of year again- back to school time! Woopdeedo! Ya, don't worry, we aren't all that excited either, but we do have a few diy back to school supply projects that just might make heading back to class a little bit easier for you!
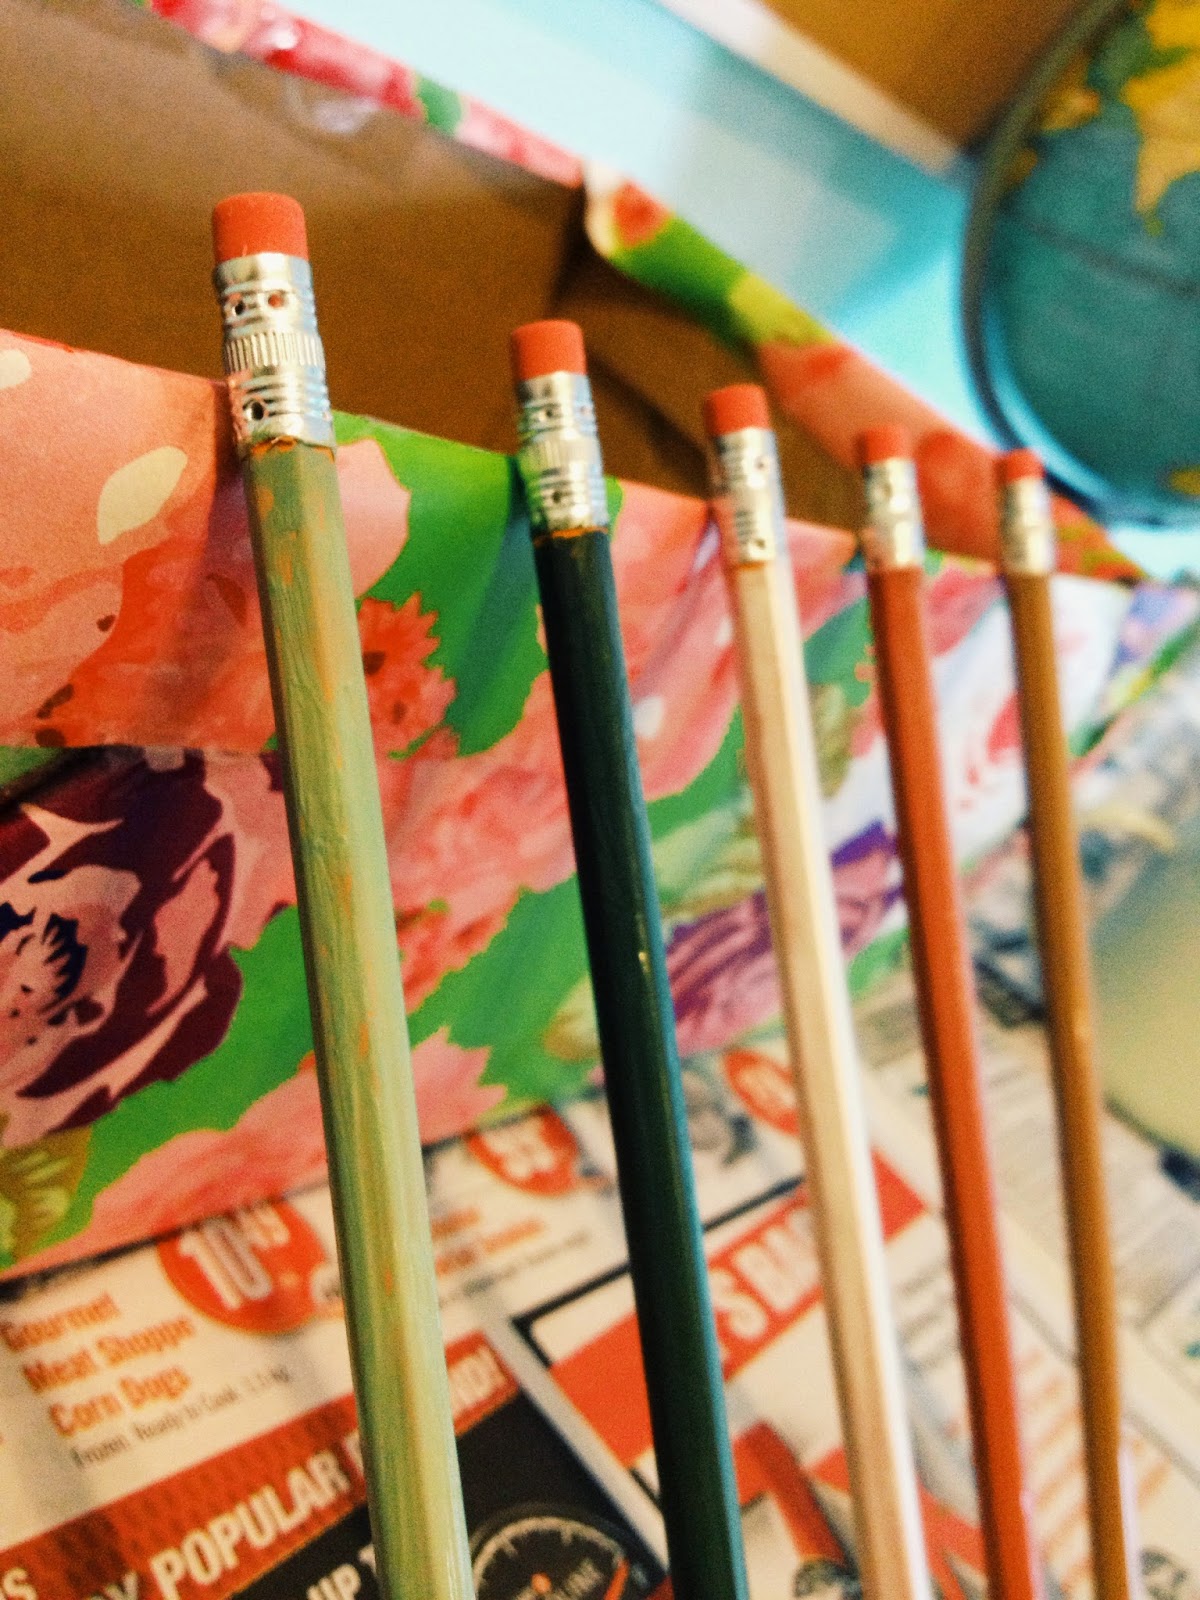
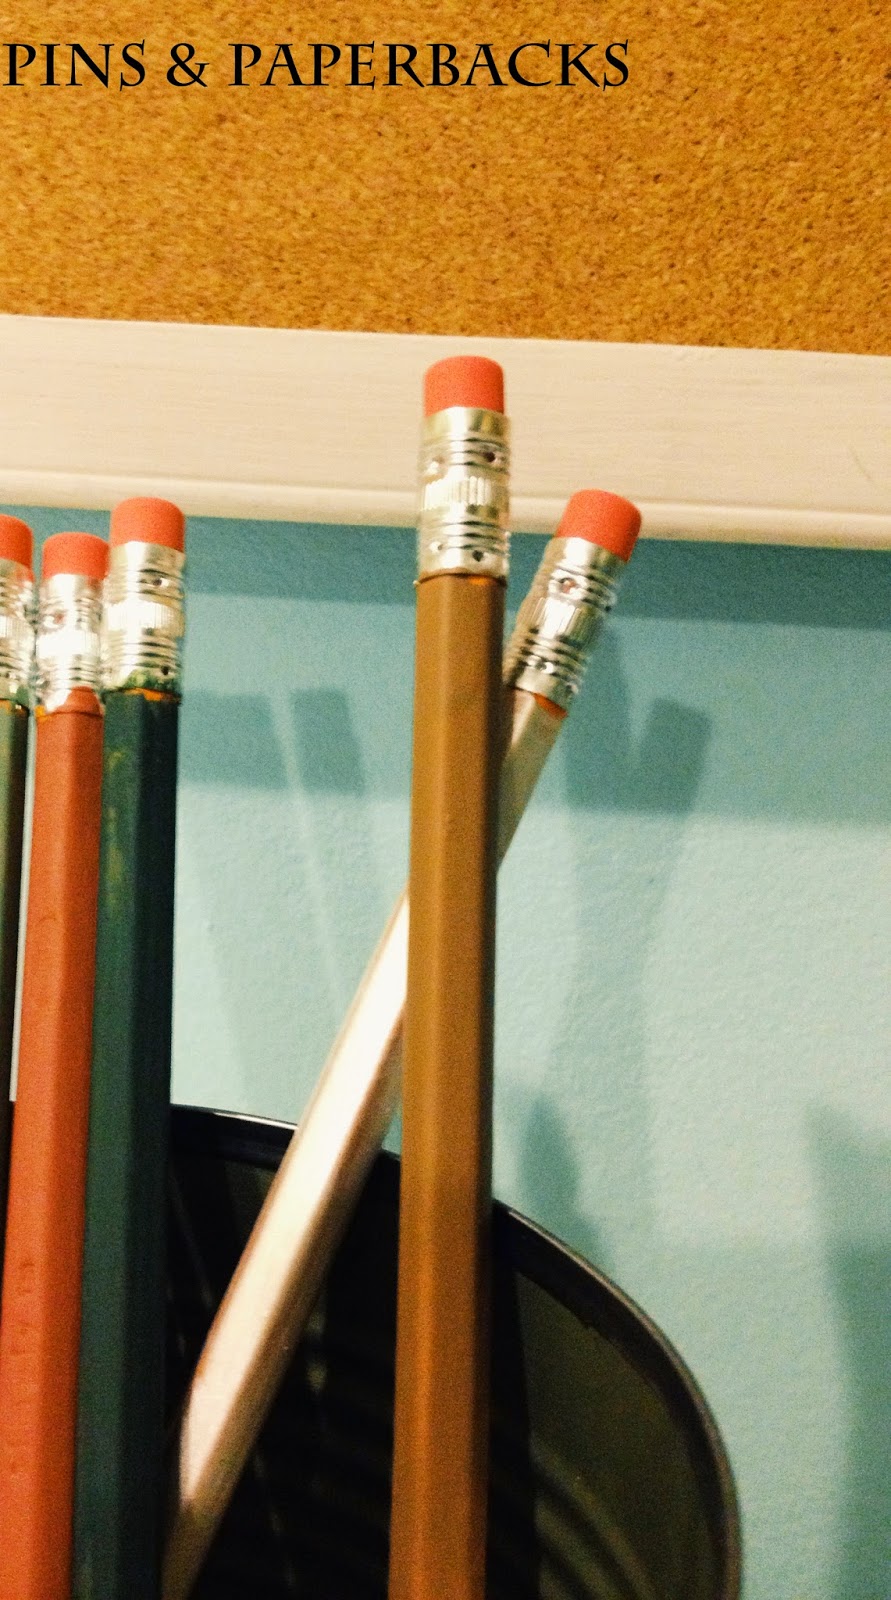
First up, are these DIY painted pencils. This is the perfect project to spice up those dull pukey colored pencils and maybe help you enjoy math class a little more. This diy is super easy, and we got this inspiration from Hello Natural.
What you'll need:
- pencils
- paintbrush
- wood paint
- newspaper (you don't wanna get that white desk dirty)
- lid to pour paint on
First, start by choosing the paint you would like to use. I chose some fall colors because we all know we keep our pencils for only a couple of weeks and then they magically disappear on us. You can also add white to colors to have different shades of each one. Now paint away!
After painting each pencil, prop those munchkins up on some sort of box, so the paint doesn't go all over the place. You can also paint another coat if you would like, but you don't have to. I found that mine needed a second coat, and then they were ready to go!
There you go! Now you have some cute, diy colored pencils! This literally takes five minutes and they end up turning out mighty fine.
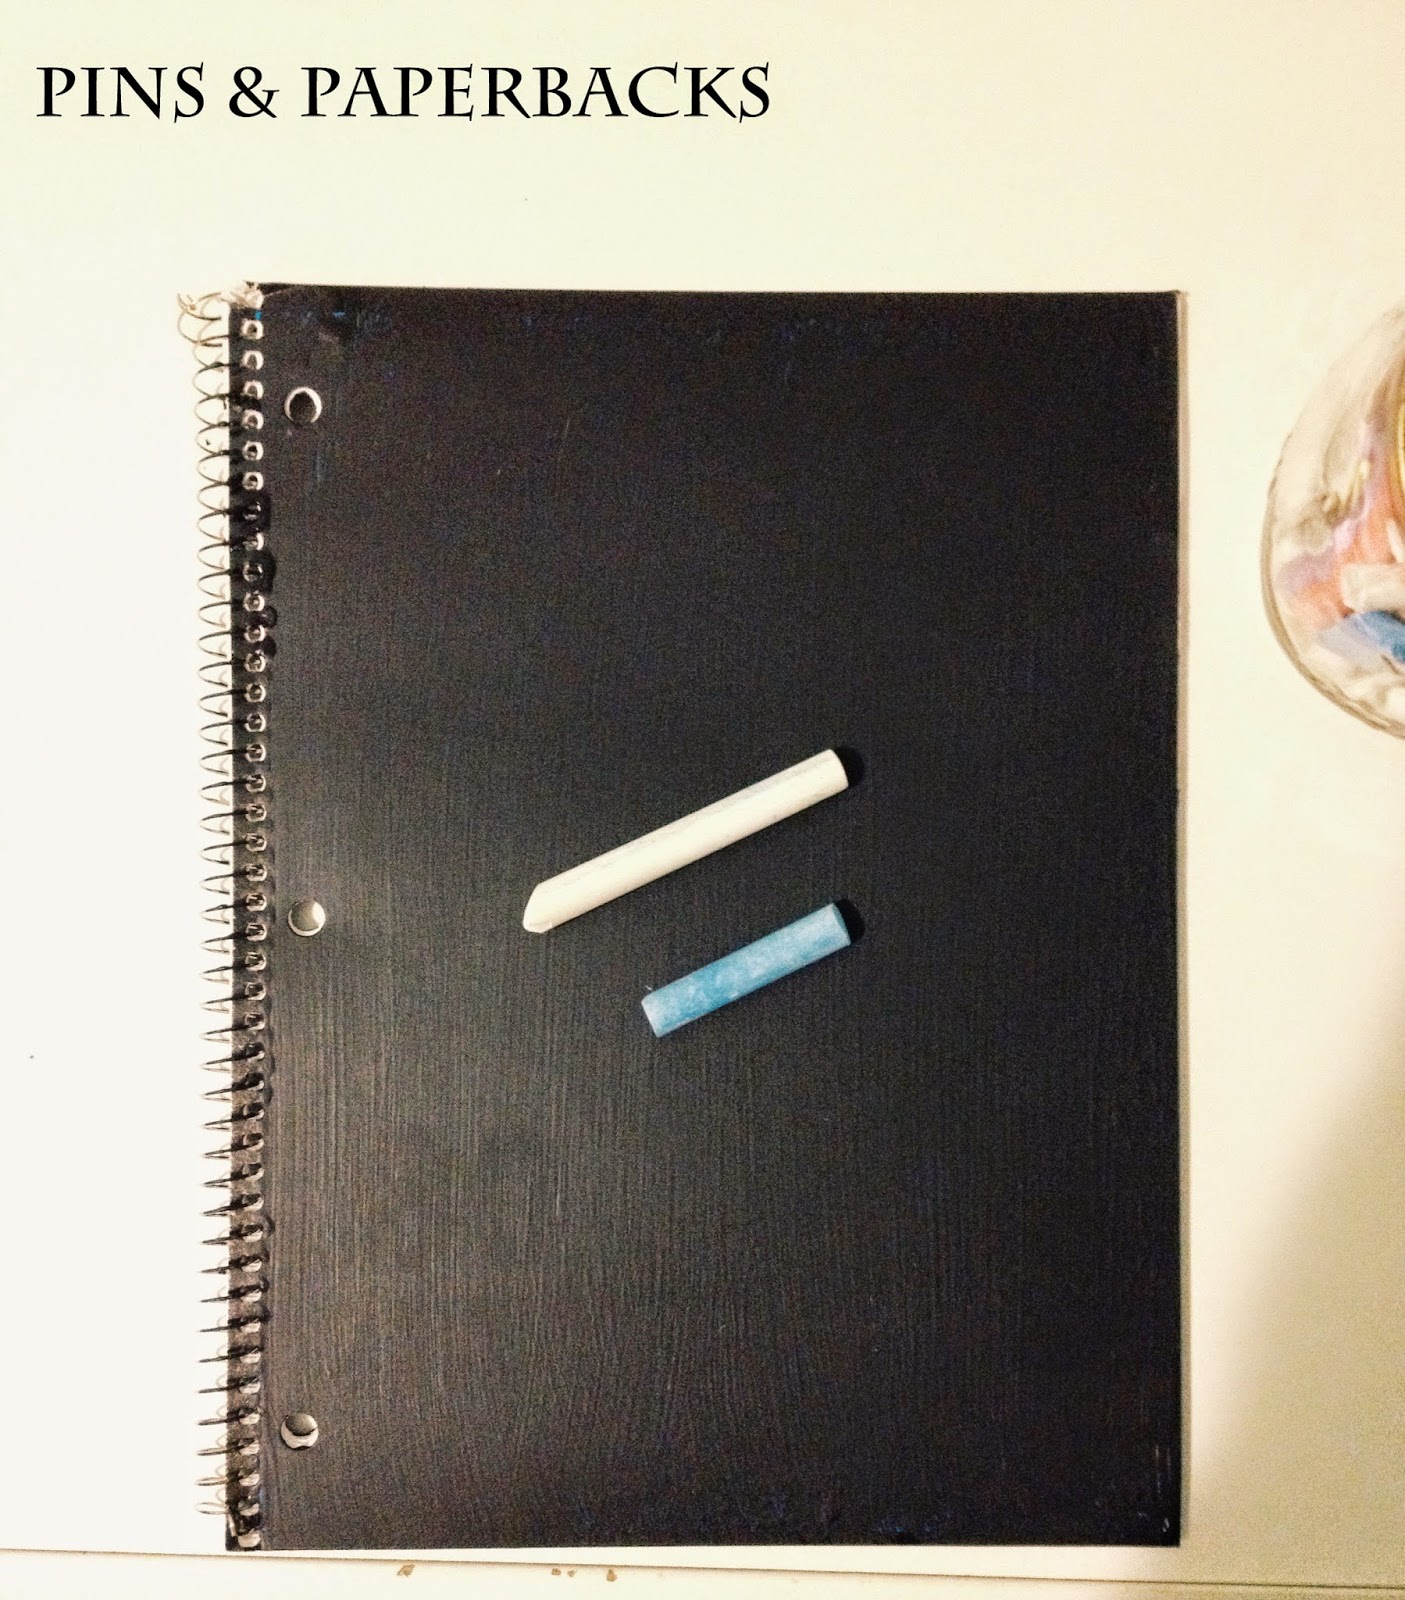
Project number two! Have you ever just gotten really bored in class and you have the sudden urge to doodle? Well, with this notebook, you can do just that! (not when the teacher is talking though, right?) I found this DIY chalkboard notebook idea on Warm Hot Chocolate.
This diy is pretty straight forward. All you need is some good ole chalkboard paint, a classic notebook, and a paintbrush. Oh and don't forget some cardboard or newspaper so you don't get paint all over the floor. The lighting is a little weird because I had to paint in the basement because ma mere didn't want the fumes hanging out in the house, and a chalkboard on her kitchen floor.
As you can tell, the chalkboard paint didn't show up as well on the glossy cover, so if you want to do a second coat, just wait a bit before you do it. Make sure you read the can before though, mine said to wait about four hours.
C'est fini! This was also super easy, but the only annoying part of this project if you have to wait 3 days before you can draw on it! Patience, Mickey, patience. However, make sure you read your can, for yours may have different instructions. Isn't this delightful? Now you can doodle, write your subjects, write your name, or write notes to your friends! (again, not when the teacher is talking, right?) ;)
Last diy project is this chic scrapbook paper calendar. This will help you stay organized throughout the first couple weeks of school, and it is really fun and stylish too! Inspired by Say Yes.
What you'll need:
- scrapbooking paper (or just scraps or construction paper)
- scissors
- pencil
- sharpie
- ruler (only if you are a perfectionist like me)
- bulletin board
- pushpins
First, measure and cut out your scrapbook paper into little tiny boxes. Mine were about 2" long and wide.
Once you've cut out about 30 boxes, number each one with a Sharpie or fine tip marker. Don't forget to write down the month and days of the week on paper too. I used plain cardstock to contrast all my patterned paper.
Lastly, pin your squares in a nice orderly fashion on your bulletin board, and ta da! Yay for organization!
Now you can write all those lovely back to school shenanigans on your calendar and admire the cute paper you used!
Well that's all for now folks. We hope you enjoyed these back to school supplies ideas. Make sure to comment; we love to hear your feedback! If you make any of these creations, you can tag them #pipablog on insta so we can check them out! And if you aren't too excited to go back to school, don't worry, we feel ya. You just gotta remember to have a positive attitude and work hard! Trust in God cause He's got your back, and have a happy school year :)
Talk to y'all soon,
♡
With love,
Mickey & Jen
Pins & Paperbacks Blog


No comments:
Post a Comment